
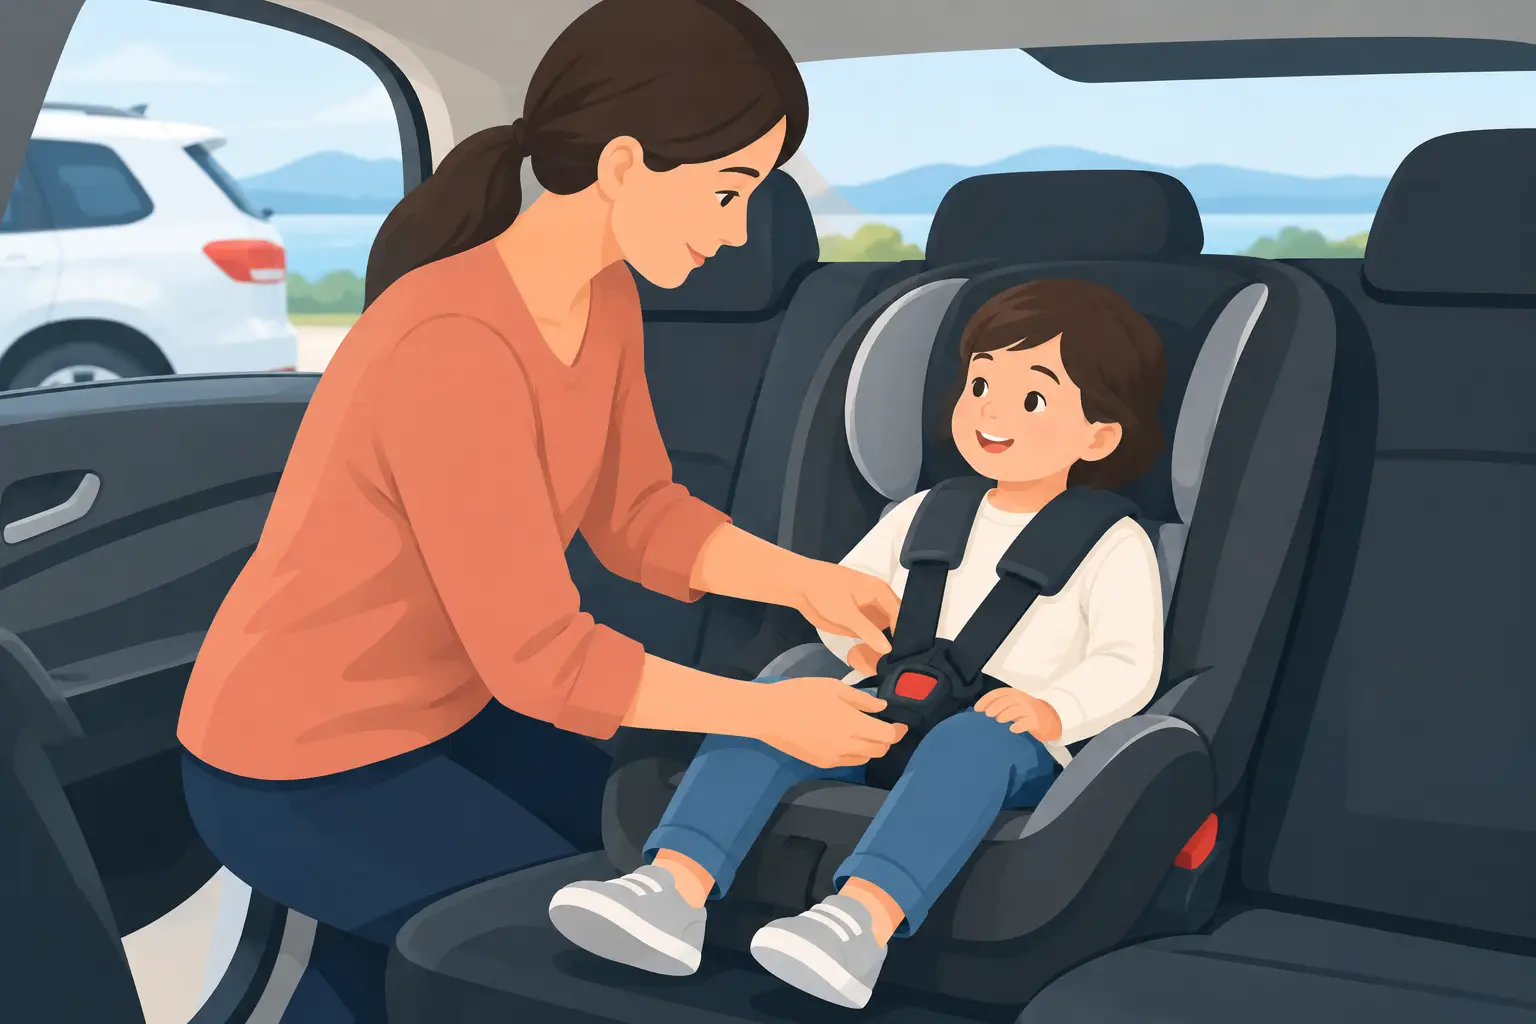
A child seat can look securely fitted and still have too much movement at the belt path, a twisted harness or an unsuitable recline angle. That is why taking a few unhurried minutes before leaving the airport or your accommodation matters. Knowing how to secure child seats correctly gives your family a safer start to every drive in Crete, whether you are heading to a beach near Hersonissos or crossing the island for a day out.
The aim is not to make the process complicated. It is to match the seat to your child, the seat to the car, and the fitting method to the equipment you have. Do those three things well, and you can set off with confidence.
Start with the right seat for your child
A child seat is not one-size-fits-all. Choose it according to your child’s current height and weight, following the seat manufacturer’s limits. Many newer seats use the R129 standard and are selected mainly by height. Older models may use weight groups. Both can be safe when approved, undamaged and used exactly as instructed.
For babies and young toddlers, a rear-facing seat is generally the safest option for as long as the seat allows. It supports the head, neck and spine in a sudden stop or collision. A forward-facing seat should not be treated as the next step simply because a child has reached a birthday. Check the height or weight limit instead.
If your child uses a high-backed booster, make sure the adult belt sits across the centre of the shoulder and low over the upper thighs. It must not cut across the neck or rest on the stomach. A booster is only suitable when the child can sit upright throughout the journey without slipping under the belt or leaning out of position.
When reserving a hire car, request the child seat early and give the child’s age, height and approximate weight. This helps the rental team prepare the most appropriate option. If you bring your own seat from home, check that it is approved for use, has its instruction manual and is practical for the car you have booked.
Check the hire car before fitting the seat
Do not wait until everyone is loaded, hot and ready to leave before checking the rear seats. Take a moment at handover to identify the fitting points and confirm where the child seat will go. In most cars, the rear seat is the usual choice. The centre rear position can be a good location if it offers a proper three-point belt or approved ISOFIX points, but this varies between vehicles.
Look for ISOFIX anchor points between the seat cushion and backrest. They may be marked with a label or symbol. Not every rear seating position has them, and an ISOFIX seat is not automatically compatible with every ISOFIX-equipped car. Some seats also use a top tether or support leg, each with its own rules.
If you are using a seatbelt-fitted child seat, check that the belt reaches around the seat along the marked route and locks as the seat instructions require. Some car seatbelts have a switchable locking mode, while other seats use their own lock-off device. Never assume the method is the same as in your car at home.
A reputable rental provider should be happy to show you the car’s fittings and answer practical questions before you drive away. At ORION Rent A Car, the handover is a good time to ask rather than guess, especially if you are unfamiliar with the model supplied.
How to secure child seats correctly before driving
Read both manuals: the child seat manual and the relevant section of the vehicle handbook. It may feel unnecessary after a flight, but different cars can have different restrictions for head restraints, support legs, airbags and seating positions.
For a seatbelt-fitted seat, place it flat against the vehicle seat and thread the belt through every guide marked for your child’s direction of travel. Remove twists as you go. Buckle the belt, pull it tight and apply your body weight to the child seat while tightening where the instructions allow. This helps remove slack.
For an ISOFIX seat, push both connectors firmly onto the anchor points until the indicators show they are properly engaged. If the seat uses a support leg, extend it to the vehicle floor and make sure it is vertical and resting on a solid area, not a storage compartment lid. If it uses a top tether, attach it only to the designated tether anchor.
Once fitted, hold the child seat at the belt path or ISOFIX base and try to move it from side to side and forwards. It should feel firm, with no significant movement at that point. Movement at the top of the seat can be normal, particularly with rear-facing models, so test where the seat is actually attached.
Avoid these common fitting mistakes:
- Routing the belt through the wrong guides or leaving it twisted.
- Using ISOFIX and the vehicle belt together when the seat instructions do not permit it.
- Placing a support leg on an unsuitable floor compartment.
- Allowing a rear-facing child seat in front of an active passenger airbag.
- Adding cushions, mats, clips or accessories that were not supplied or approved by the seat manufacturer.
Fit the child, not just the seat
A correctly installed seat still needs a correctly restrained child. Remove bulky coats before fastening the harness. Thick padding creates space between your child and the harness, which can compress in a collision. On cooler evenings, use a light blanket over the secured harness instead.
For a harness seat, bring the shoulder straps to the correct height for the direction of travel stated in the manual. Fasten the buckle and tighten until you cannot pinch excess webbing at the shoulder. Keep the chest clip, if your seat has one, at armpit level. Check that the straps lie flat and are not twisted.
Babies should not have their heads slumped forward. Adjust the recline only within the approved range and, where relevant, use the seat’s built-in angle indicator. Do not improvise with towels or rolled-up clothing unless the manufacturer specifically permits it.
Plan for Crete’s roads, not only the journey time
Crete rewards families who take their time. A route that looks short on a map may include bends, hills, village traffic and slower local roads. A securely fitted seat is essential, but comfort matters too. Plan a break for longer drives, carry water, and avoid turning the rear of the car into a loose collection of bags and toys.
Heavy items should be kept in the boot wherever possible. Loose objects can become dangerous in sharp braking. If you need essentials within reach, keep them light and secure. It is also wise to fit the seat before packing the boot fully, particularly in a smaller hire car, so you have room to work properly around the rear doors.
Heat is another practical consideration. On a sunny day, metal buckles and dark seat fabric can become very hot. Check the harness buckle and the seat surface with your hand before placing your child in it. A sunshade may help while parked, but remove anything that obstructs the driver’s view before setting off.
Know when to stop and check again
Check the installation again after moving the seat between cars, after folding or sliding a rear seat, and after a long journey where passengers may have pulled on the harness or belt. It is also worth rechecking when a different adult fits the seat. Small changes can affect belt tension and routing.
If the seat seems unstable, the belt will not lock, an ISOFIX indicator stays red, or you are unsure whether the model is compatible, do not set off hoping it will be fine. Ask for assistance or request a different seat or vehicle arrangement. A clear answer is always better than a rushed compromise.
Greek road rules require children to travel using an appropriate restraint, but safety is about more than avoiding a fine. The right equipment, fitted properly, gives your child the protection it was designed to provide.
Your holiday should begin with the anticipation of the road ahead, not uncertainty in the car park. Give the child seat a careful first fitting, check it again before each longer drive, and let the rest of the family journey through Crete feel that little bit more relaxed.
 Complete Insurance
 Free km (mileage)
 VAT – Inclusive price

Leave a Reply